Ground · Ladder · Satellite — Costs & Accuracy
How to Measure a Roof for Shingles
Every way to measure a roof — a tape walk around the house, a ladder pass plane by plane, drones, paid aerial reports, and free Google Earth — ranked by cost, accuracy band, and the mistakes that quietly turn into short shingle orders.
Ground Tape
Simple rectangles, first estimates
Accuracy score — bar length = tighter band
Ladder + Tape
Small roofs, safe one-story climbs
Accuracy score — bar length = tighter band
Drone + App
Steep or fragile roofs you cannot walk
Accuracy score — bar length = tighter band
Paid Aerial Report
Contractor bids and full material orders
Accuracy score — bar length = tighter band
Google Earth / Maps
A 5-minute sanity check before anything else
Accuracy score — bar length = tighter band
The Shingle Calculation Formula
Before choosing a measuring method, it helps to see what the numbers are for. All five methods above are just ways of producing one input — the true roof area — for the same short chain of arithmetic. Write it once, keep it on the phone, and every measurement becomes a plug-in exercise.
roof area = footprint (ft²) × √(1 + (rise/12)²)
order area = roof area × (1 + waste%)
bundles = order area ÷ ft² per bundle
Architectural ≈ 32.3 ft²/bundle · 3-tab ≈ 33.3 ft²/bundle · waste: gable 10%, hip 15%
How to Calculate Roof Area for Shingles
Worked example, ground method: walk the house and read a 40 ft × 30 ft footprint at the eaves, overhang included. The level-and-tape pitch check says 6/12. Footprint is 1,200 ft²; the multiplier for 6/12 is √(1 + 0.5²) = 1.118; roof area = 1,200 × 1.118 ≈ 1,342 ft². That is the number the rest of the formula chain consumes — never the raw footprint.
How to Calculate Square Footage of Roof for Shingles
Roofing trades in squares, not square feet: one square = 100 ft² of roof. The 1,342 ft² example is 13.4 squares. With 15% waste it orders 1,544 ÷ 32.3 ≈ 48 bundles of architectural — three bundles per square is the mnemonic, and it lands within a bundle on typical wrapper coverage. If you would rather have a tool run this chain with your own numbers, the roof shingle calculator on the homepage does it in one pass.
One boundary condition worth memorizing: the footprint method assumes every square foot of plan projects onto roof. Cut-up plans, bay windows, and porches break that assumption — measure them as their own rectangles and add, or the method’s error band drifts from ±3–5% toward double digits.
| Pitch | Multiplier | 100 ft² plan becomes |
|---|---|---|
| 3/12 | 1.031 | 103 ft² |
| 4/12 | 1.054 | 105 ft² |
| 6/12 | 1.118 | 112 ft² |
| 8/12 | 1.202 | 120 ft² |
| 12/12 | 1.414 | 141 ft² |
The multiplier is √(1 + (rise/12)²). Read the rise with a 12-in level and a tape against the rakes, or from an attic gable end — never guess it.
Roof Measurement Methods Compared
Cost, accuracy band, time on task, and the specific risk that comes with each method. The accuracy column assumes best practice — a rushed version of any method only slides downward.
| Method | Cost (USD) | Accuracy band | Time | Best for | Risk |
|---|---|---|---|---|---|
| Ground tape (footprint walk) | Free | ±3–5% | 10–20 min | Simple gable or hip plans, budget checks | Overhang measured or missed; pitch guessed |
| Ladder + tape (on the roof) | Free | ±2% | 1–3 hrs | Small to mid roofs when climbing is safe | Ladder and edge falls — the #1 DIY roofing injury |
| Drone + measuring app | $0–150 | ±3–5% | 30–60 min | Steep, high, or fragile roofs | Wind, battery, and local drone flight rules |
| Paid aerial report | $15–75 | ±1–3% | Minutes to 1 day | Contractor bids and full material orders | Pitch still modeled — check it against your roof |
| Google Earth / Google Maps | Free | ±5–10% | 5–10 min | Fast footprint check before deeper measuring | Plan-area only — pitch is estimated, not measured |
Accuracy bands reflect footprint-derived methods (ground, satellite) versus direct plane measurement (ladder, report). Paid reports sit between because they model pitch from imagery rather than touching the roof.
💡 Tip: stack methods instead of choosing one — free Google Earth first for the ballpark, then ground tape with a real pitch reading for the order. Two independent numbers that agree are worth more than one “accurate” one.
⚠️ Warning: satellite and aerial tools return the flat plan projection. A traced 1,200 ft² outline at 6/12 is really about 1,342 ft² of shingle surface — multiply by the pitch multiplier before ordering anything.
❌ Don’t: subtract dormers before adding their own roofs, cheeks, and ridges back in — a dormer’s shingled surface almost always makes the total area net larger, and deducting it is a guaranteed short order.
Measuring a Roof From the Ground
The ground method measures the building, then lets geometry produce the roof. Walk the perimeter with a 25 or 100 ft tape and record each wall’s length at the eave line — the outer edge of the overhang, not the siding, because the roof extends past the wall. On a simple rectangle that is two numbers; on an L-plan it is six. Multiply each rectangle in the plan, sum them, and you have the footprint.
Pitch is the second input, and it is where ground-only estimates earn their wide band. The honest version takes two minutes: hold a 12-in level horizontal against a rake board at the gable end, measure from the level’s far end down to the roof, and that drop in inches is your rise per 12. A gable-end attic window or the exposed rake of a porch works too. If neither is reachable, you are guessing — and the multiplier table above shows what a guessed pitch costs.
- Pitfall 1 — measuring at the wall instead of the eave drip edge: a missed 1-ft overhang on 40 × 30 costs 344 ft² of footprint, roughly 9 bundles at 6/12.
- Pitfall 2 — pace-count drift: an adult pace averages 2.5 ft, and a 60-ft wall walked twice can disagree by 2 ft. Tape anything you order from.
- Boundary case — if you cannot see all four sides or the plan has inside corners, treat the ground number as a budget figure only and confirm with a ladder pass or a report.
Tape the dashed line — the eave edge — not the wall. Then read pitch with a 12-in level at the gable rake.
On the Roof: the Ladder-and-Tape Method
Direct measurement needs no pitch multiplier at all — you are on the slope, taping what shingles will cover. Measure each plane as a rectangle: ridge (or hip apex) to eave for the slope length, along the ridge for plane width, and multiply. Sum the planes, add the true waste factor for your roof shape, and divide by the wrapper coverage. Done carefully this lands within ±2%, the tightest band on this page, which is why it remains the reference method every other method is checked against.
The per-plane routine
One plane = slope length × ridge run. A 40-ft ridge with a 16-ft slope is 640 ft²; a four-plane hip of the same size doubles it. Sketch each plane on paper with its number before leaving the roof.
Read pitch anyway
Even on the roof, note the pitch — you need it for hip-line lengths, cap estimates, and to sanity-check the plane math. A pitch gauge or the level-and-tape trick works in seconds on the slope.
The slope-length trap
Taping along the rake gives slope length, which is correct per plane — but mixing one slope-length figure into a footprint-based chain double-applies the multiplier. Keep the two systems separate.
Safety is part of accuracy
A rushed tape on a 10/12 slope is how measurements become hospital visits. One-story, 6/12-or-flatter, dry roof, tied-off ladder — or hire the measurement out. No estimate is worth a fall.
Aerial & Satellite Roof Measurements: Free vs Paid
Aerial measuring means never touching the ladder: imagery supplies the geometry and software converts it to area. The tools split into a free tier that returns a flat footprint and a paid tier that adds modeled pitch, edges, and a printer-ready report. Knowing which one you are holding is the whole skill — ordering bundles straight off a free plan-area number is the classic aerial mistake.
Google Earth & Google Maps: Measure a Roof From Your Desk
The free route takes five minutes. In Google Earth, fly to the address, zoom until the roof fills the screen, and trace the eave outline with the polygon measure tool — section by section on anything that is not a rectangle, because a traced hull around an L-plan overcounts the notch. Google Maps’ right-click “Measure distance” does the same in a browser. The result is a plan-area footprint good to roughly ±5–10% on clear, recent imagery.
What it will not give you is pitch. Google’s polygon is flat, so you multiply by the pitch multiplier yourself — from a level-and-tape reading, a photo of the gable, or the ROOF FLAG on the listing photos. And check the imagery date: a satellite shot from before the dormer was built is the quietest way to lose 100 ft² from an order.
Roof Measurement Software, Apps, and Paid Aerial Reports
Order a paid report ($15–75, ±1–3%) and the vendor’s software does the tracing, the pitch modeling, and the waste math from current aerial imagery — most return diagrams per plane, ridge and hip lengths, and even a bundle count you can hand to a supplier. A drone flight with a measuring app is the middle option: your own imagery at $0–150 of kit and app time, ±3–5% when flown straight overhead. Both beat free satellite on cut-up roofs, and both still deserve a two-minute pitch check against something physical.
- Free satellite: best as a sanity check and a footprint starter — always add the pitch multiplier manually.
- Paid report: buy one per property, not per estimate — the PDF outlives any single quote.
- Drone: pick a nadir (straight-down) flight; oblique angles inflate edges and lengthen hips on paper.
Satellite returns the blue square. The roof you order for is the red one — footprint × pitch multiplier, every time.
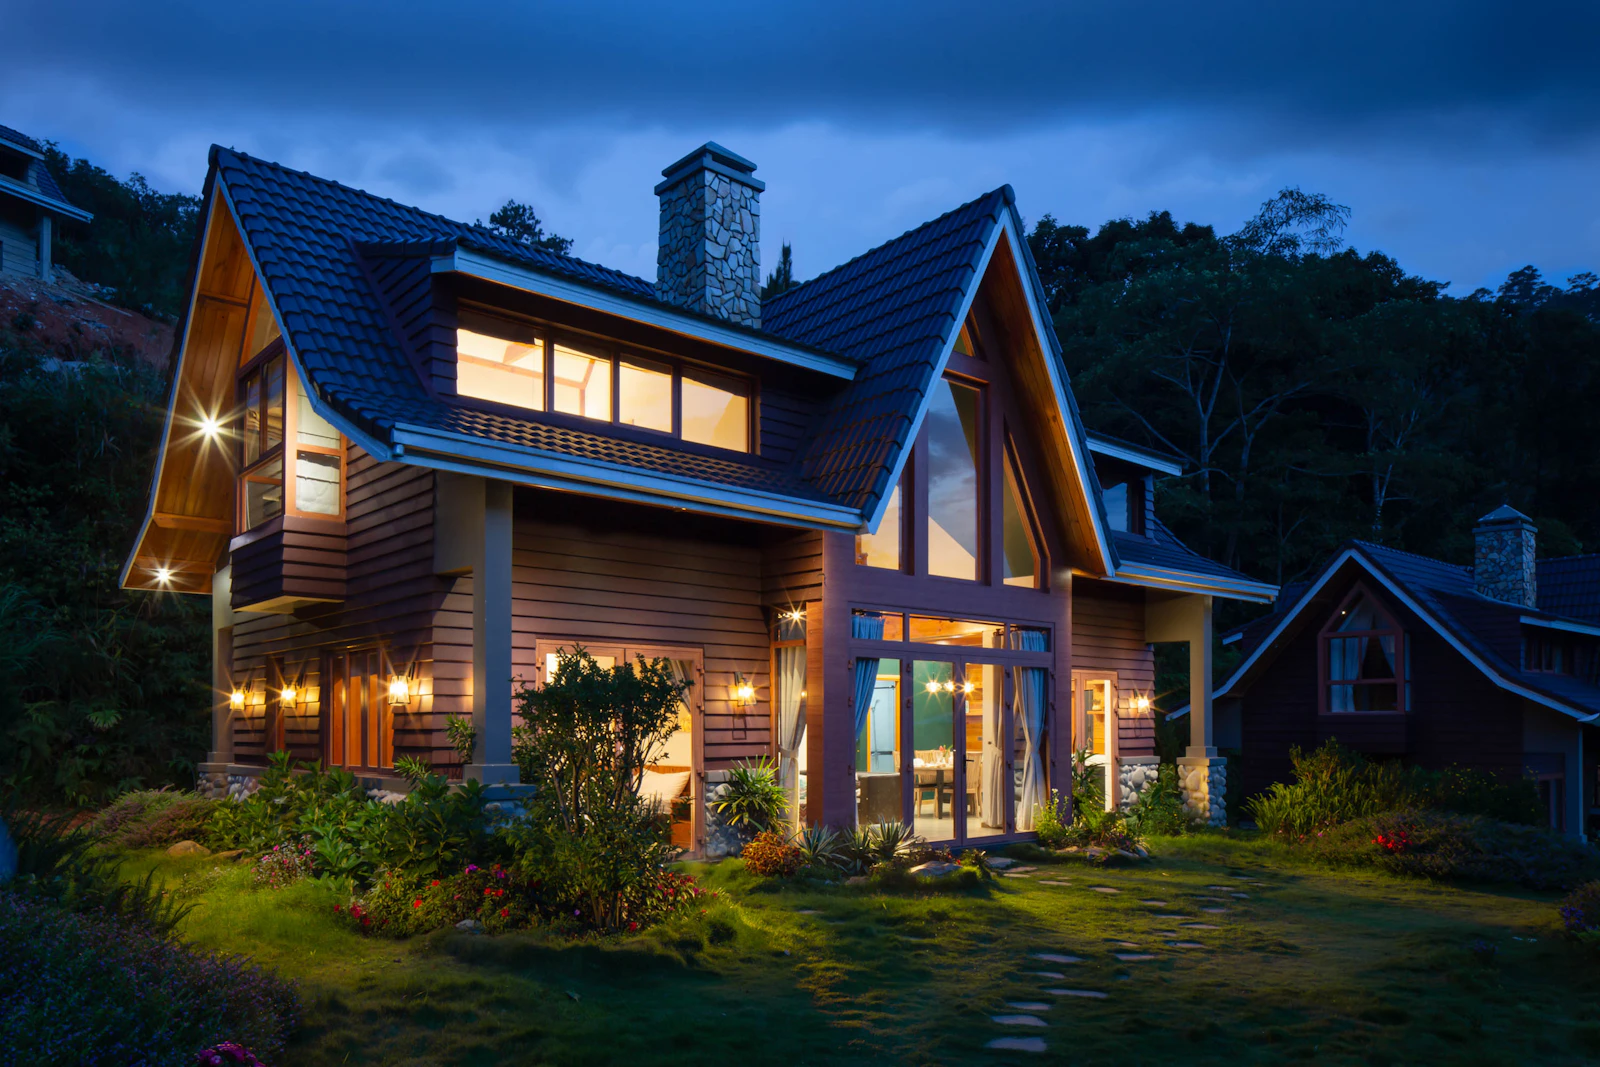 The view every aerial report starts fromPhoto: Unsplash
From Measurement to Shingle Order
Whichever method produced your number, the last mile is identical: apply the waste factor for your roof shape, divide by the wrapper coverage, round up, and add the line items a bare area never shows — starter course along the eaves, cap for every ridge and hip line, underlayment by the roll. A 40 × 30 ft ground measurement at 6/12 becomes 1,342 ft² of roof, 48 bundles of architectural at 15% waste, 4 cap bundles if the roof is a hip, and 2 rolls of synthetic.
Want the tabulated version? Our bundle counts by roof size lists ready-made orders for 1,000–3,000 sq ft footprints, and hip-specific cap math lives in the hip roof shingle calculator. Measuring a roof for shingles is only half the job — the other half is turning the number into a materials list nothing on site runs short of.
The measuring habit this guide teaches, in one card
Measure the footprint, read the pitch, multiply by the multiplier, and let the free roof shingle calculator turn it into bundles, squares, and cost. Then browse the roofing calculators for shape-specific tools, or the rest of our roofing guides for the sizing and brand decisions that follow the measurement.
Roof Measuring Questions
What is the formula for calculating shingles?
How do you calculate the square footage of a roof for shingles?
Are satellite roof measurements free — and accurate enough to order from?
Can I measure a roof from Google Maps or Google Earth?
Should I subtract dormers and skylights from the roof area?
How accurate is measuring a roof from the ground?
Related Roofing Calculators & Guides
Hip Roof Shingle Calculator
Hip roof shingle calculator: pitch-corrected area, bundles, and ridge-cap counts for hip and Dutch hip roofs, with a 15% hip-roof waste preset built in.
Gambrel Roof Shingle Calculator
Gambrel roof shingle calculator: upper and lower slopes measured separately, bundles with a 17.5% break-point waste preset, plus cap and starter counts.
Shed & Lean-To Shingle Calculator
Shed roof shingle calculator for lean-tos, barns and garages: 3-tab bundle counts from footprint, felt rolls, DIY cost bands, and a below-2/12 slope warning.
How Many Shingles by Roof Size (1,000–3,000 sq ft)
How many bundles of shingles for a 1,000–3,000 sq ft roof: squares, bundles, rolls and cost per footprint size at 6/12 — plus the unit conversions behind the table.
Shingle Brands Compared: GAF, OC, CertainTeed, IKO
GAF vs Owens Corning vs CertainTeed vs IKO vs Atlas: bundle coverage, wind ratings, warranties and price bands — and why brand shingle calculators barely differ.